|
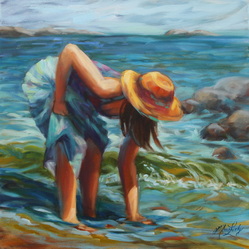
The final stage is building the transition to light. I put down a dab of the brightest colour in the focal point area. This helps to decide on the range of value needed throughout the piece. The transparent under painting will be left untouched in areas. This will make the opaque transition appear brighter and livelier creating vibrancy. I let the painting dry at the tacky stage and then go back in and glaze transparent darks or colours to enhance or change value where needed. Thanks Perry Haddock for sharing your photo! 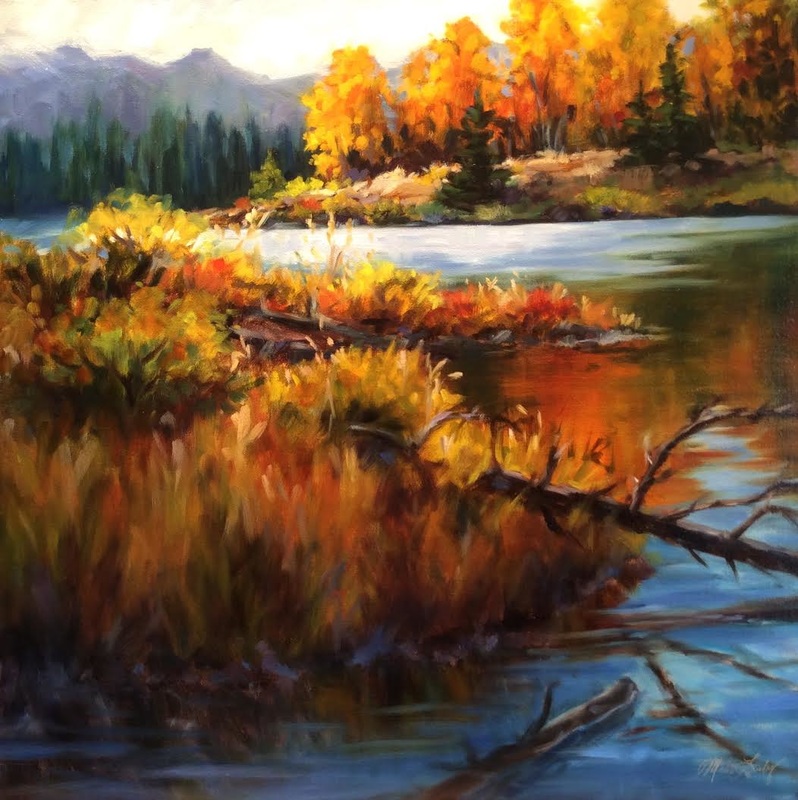
2 Comments
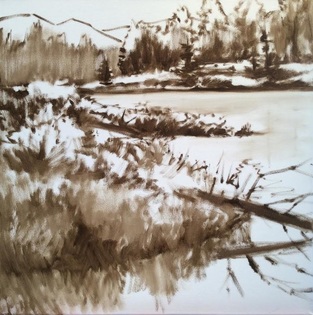
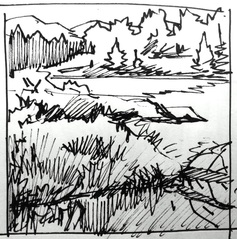
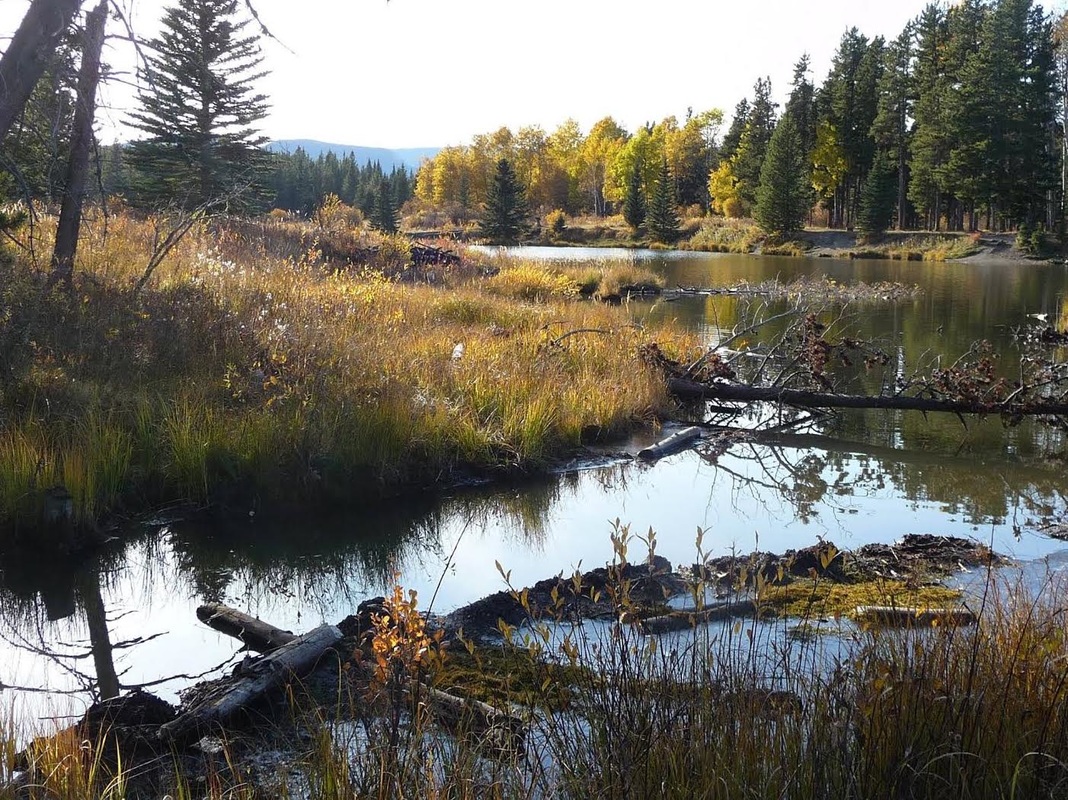
I've looked at my initial drawing on the canvas for over a few weeks now. Not that I was stumped, there is however sometimes an element of fear in proceeding if you've had a creative interruption. That wasn't the case here, just other artistic commitments and a nice weekend camping trip! My husband and I had intentions to paint Plein Air, brought all the gear and instead stared out the camper window and watched contentedly at the rain come down. Sometimes a creative rest is best! So the next stage for me is always to lay in the transparent colours that make up the dark and local colours. These are the Transparent colours I used: Azo Yellow, Indian Yellow, Transparent Red Iron Oxide, Azo Green, Alizarin Crimson and Ultramarine Blue. Even at this stage I'm trying to keep the brightest and purist hues around the focal point. In the foreground grass area I blended, softened and grayed down (mingled complimentary hues together) to keep it toned down. Working the darkest darks in areas needing it. I also added a few more logs or 'shapes' for interest and to accentuate the focal point more. I work Alla Prima always because I love the soft edges and the way the paint mingles together. Saying that, there are often times of interruption and I have no choice but to let it dry before finishing. When starting up another session on a dry piece, I give my painting a very thin coat of 50/50 mixture of gamsol + walnut oil, wiping off any excess. This allows your brushes to move across the canvas and blend easily like working wet into wet once again. The next step is to add opaque colours ranging from semi--transparent to very opaque in the brightest areas. 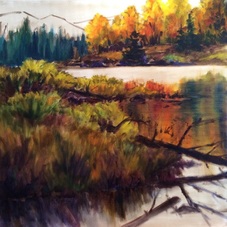 Time for a landscape. Numerous times over the years I've heard artists say, 'Don't change the light or you'll be in trouble!' There was a time I'd never attempt changing the path or intensity of light for fear of screwing up and thus wasting paint and heaven forbid, a canvas! I'm feeling more reckless and courageous these days because I realize with no risks comes no growth! A fellow Federation Artist Perry Haddock posted this photo and a few artists took the challenge to paint from the same photo. It's been interesting to see the different styles and translations come forth. Here is the photo posted, my thumbnail and drawing on canvas with Raw Umber mixed with 50/50 walnut oil + gamsol.
 For the thumbnail I did lots of thinking and a little scratching on paper. I'm excited at this point about this painting. The thumbnail is crucial for me as it makes me test the waters to see if the passion will arise to carry on. I highly recommend doing thumbnails.
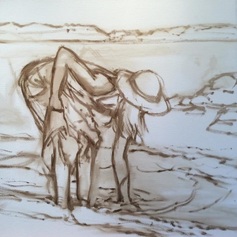
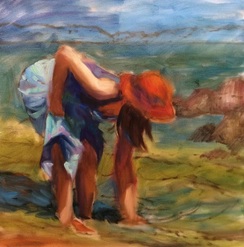
I have some idea where I want to go with this painting. The focal point for me is the area around the yellow trees in the distance. I feel the foreground grass competes with the distant yellow trees in value and colour. One of the ways I plan on fixing this is toning down the grass area forcing the eye up to the top of the painting. At this point it's easier said than done! So now that I'm committed to share the progress of this piece with you, I will have to figure it out! My journey from painting photo realism to a more impressionistic and spontaneous technique has been interesting and full of learning. Artistic evolution is inevitable but we do choose in which direction we desire to travel. As my life has changed and progressed, I found my style of painting has too. I've been teaching workshops/classes for the past 18 years and have heard so often "I want to loosen up!" I believe each stage in an artists journey is very valuable and is a building block to where they will end up. I can suggest bigger brushes and more paint but more than anything I say, " PAINT, PAINT ,PAINT!" Here is a look at my personal painting process. I always do a thumbnail to soundly affirm in my brain what I want to spend the next number of hours developing. Too much time is wasted if I don't do this. Sometimes it takes a few sketches. I use a fine felt rather than a pencil to stay away from detail. I want the spontaneous freedom to start here at the very beginning! 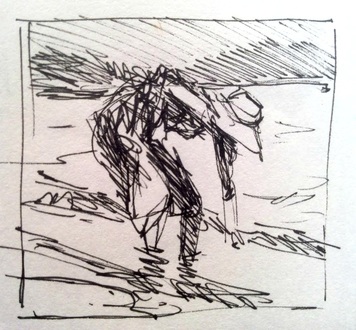 The journey begins. Next I loosely draw my image on the canvas adjusting as needed. Easier now than later. I start to block in the darkest flesh colour, not worrying about my drawing lines.
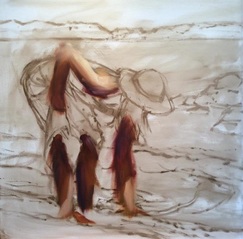
I focus on transparent pigments and blocking in local colours in a very loose manner (Imprimatura). Slowly adding opaque hues, the light begins to emerge. I keep building the light and adjusting the dark's until it creates the affect I want. Painting is such a balancing act, full of troubleshooting and problem solving. I have to admit I love this challenge! The last image here shows my 'it might be done?' stage. At this point I leave it and possibly revisit it later.
Being married to your paints and getting to know them will give you great freedom to allow you to paint with confidence!
|
Debbie Milner Lively- AFCA
I've been a professional artist for the past 20 years. I can say the journey has been amazing! .Archives
April 2018
Categories |
 RSS Feed